 |
|
|
|
|
|
|
|
|
|
|
|
|
|
|
|
|
|
|
|
|
|
|
|
|
|
|
|
|
|
|
|
|
|
|
|
|
|
|
|
|
|
|
|
|
|
|
|
|
|
|
|
|
|
|
|
|
|
|
|
|
|
|
|
|
Byrd Creative Services'
Luthier Workshop
Making Stringed Instruments |
|
|
|
If you're looking for a beautiful, perfectly-designed stringed instrument, you should probably look elsewhere.
If you're interested in the creation of a functional, handmade instrument, then you might like this page! |
|
|
|
|
|
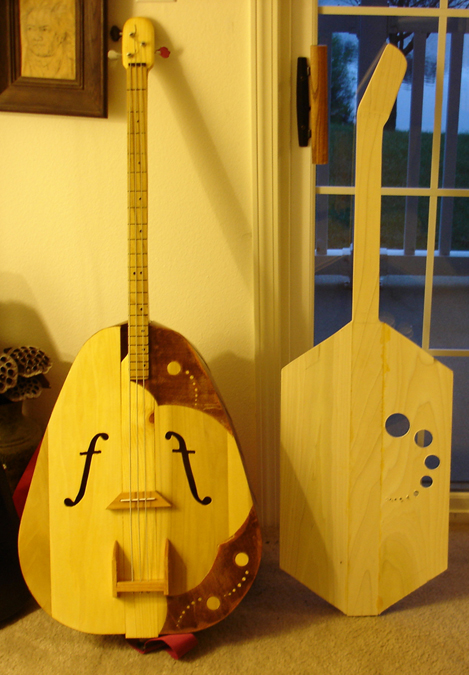
Project 2 : Five-Stringed, Acoustic-Electric, Treble-Bass Guitar |
|
|
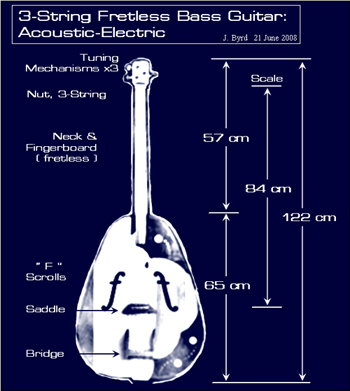
Project 1 : Three-Stringed, Fretless, Acoustic-Electric Bass Guitar |
|
|
|
|
|
|
 |
|
|
|
Project Two was started ~1 month after finishing Project One. Now that I knew that my construction methods were fairly sound, I could focus on creating more interesting, aesthetically-pleasing instruments.
I also have more time to plan the various geometries & structure of the instrument with the goal of creating unusual & unique stringed instruments. |
|
|
Project One was completed in less than two-weeks during my vacation to Northern Michigan.
The main goal in creating this instrument was as a "proof of concept." I wanted to see if my idea(s) would be structurally-sound and if the instrument would play as a normal guitar.
It did ! |
|
|
|
|
|
|
|
|
|
 |
|
|
|
|
|
|
 |
|
|
|
 |
|
|
|
|
|
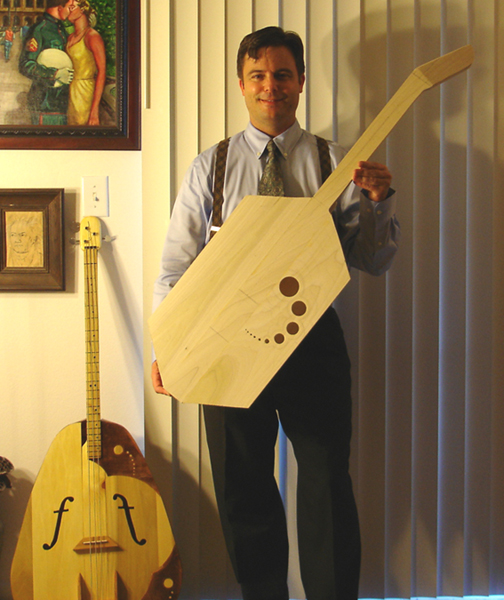
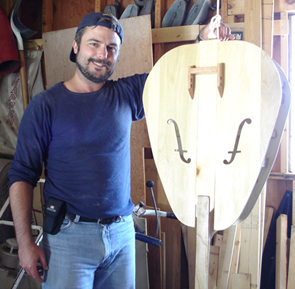
Posing with my 60% completed Treble-Bass intermediate guitar. It will have
5 strings (2 upper-bass and 3 lower treble). |
|
|
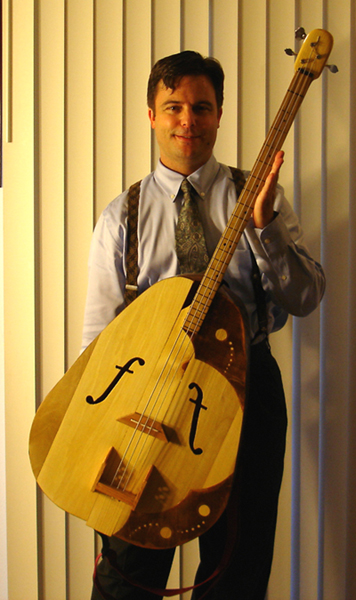
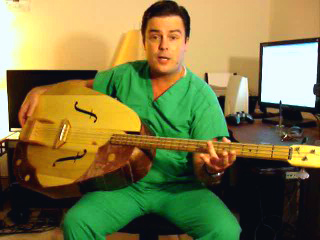
Posing with my recently-constructed,
3-String Fretless Bass Guitar ! |
|
|
|
|
|
|
 |
|
|
|
 |
|
|
|
|
I'm getting ready to apply polyurethane to the suspended guitar, 5 yards behind me is Portage Lake, in Michigan's Upper Peninsula |
|
|
|
|
|
|
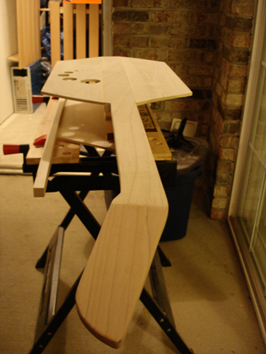
I'm getting ready to attach the left bottom soundboard one nice, warm evening in September 2008. |
|
|
|
|
|
 |
|
|
 |
|
|
|
|
 |
|
|
|
|
|
|
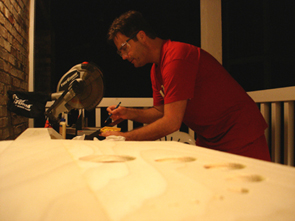
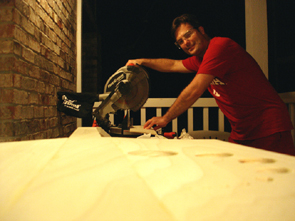
" Measure twice. . . .". |
|
|
|
|
|
|
|
|
|
" . . . cut once ! " Jim working on Project Two in his Luthier Workshop. |
|
|
|
|
|
|
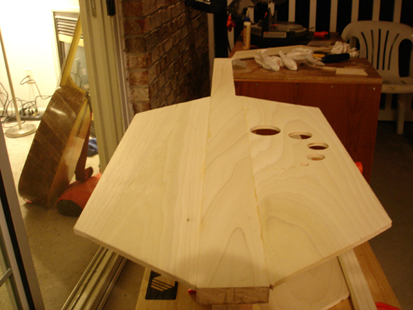
Another image of Project 2 during the early stages of construction. |
|
|
|
See & Hear the Results |
|
|
Meet the First Guitar I've Made |
|
|
|
|
|
|
 |
|
|
 |
|
|
|
|
|
|
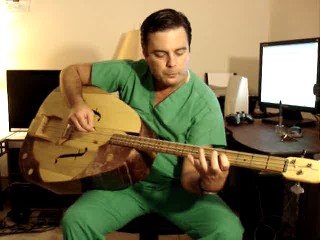
Watch & listen to me play the bass guitar that I designed & built. For this first project, my objective was to create a playable instrument. |
|
|
|
|
Watch a short video clip where I introduce you to the guitar I designed & built |
|
|
|
|
|
|
E-Mail Jim |
|
|
|
Return to the BCS Index Page |
|
|
If you are interested in more information, or wish to contact me, please send me an e-mail. |
|
|
|
|
|
The design of these stringed instruments are the property of J. Byrd (c) 2008 |
|